
Hey there! I've got a new tutorial for us all. Most of the time that I'm gallery hopping, I'm seeing a some layouts wherein their shadowing on translucent elements like bubbles, water splash and alpha, were fantastically applied. Here are some examples:

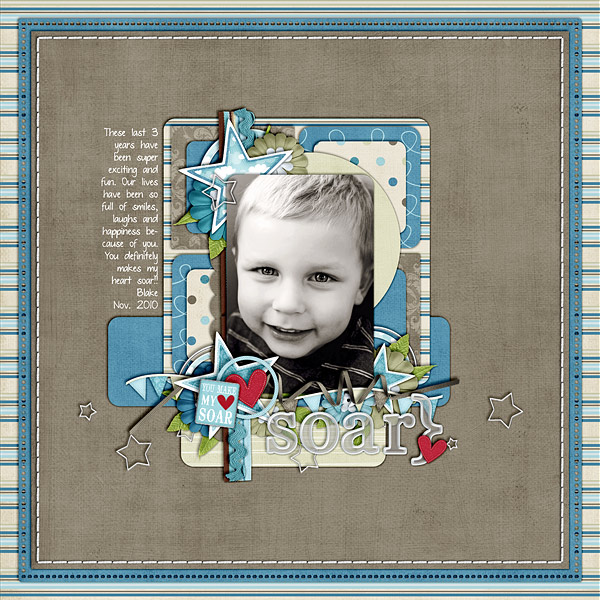

So how did they do that? Let's try these steps.
1. For this tutorial, I used my PS CS3. Open your program, the element and the background paper.

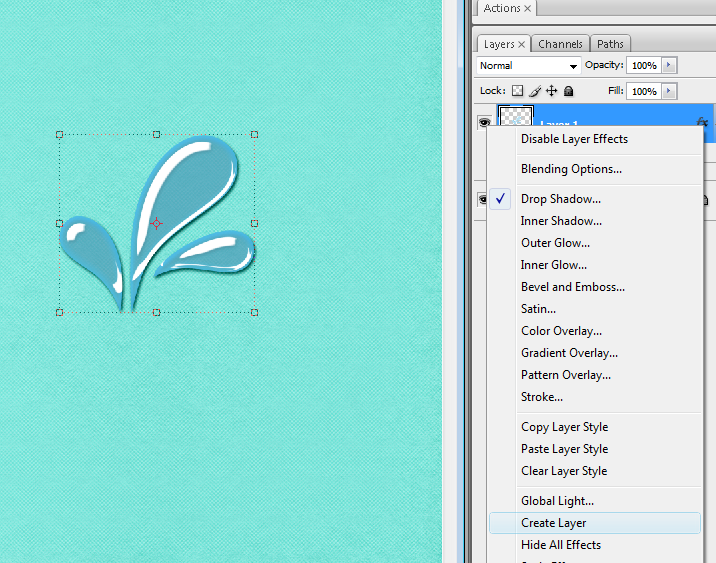
2. Apply a shadow on your element.

3. Now right click on the drop shadow icon and choose create layer.
4. Don't panic when the drop shadow icon disappear. That's how it will be. Now, click on the element icon (as for my example, it is named layer 1) and you will see the marching ants around it. now highlight the element's drop shadow and hit delete. You will now see that the shadow on the translucent element has disappear. The only shadow you will see now is the outside shadow.
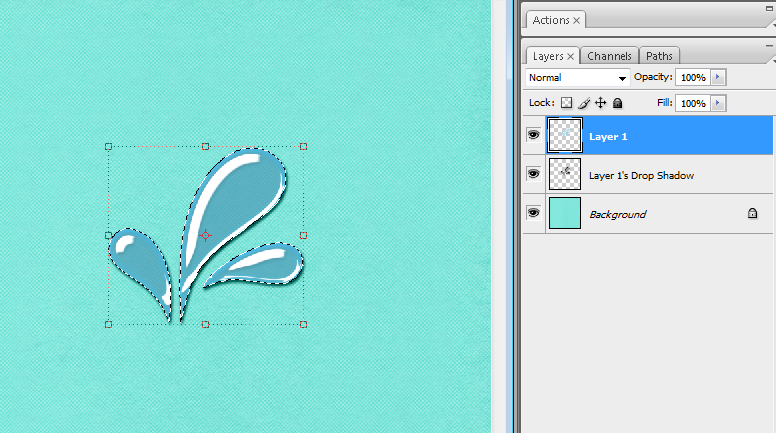
See the difference?
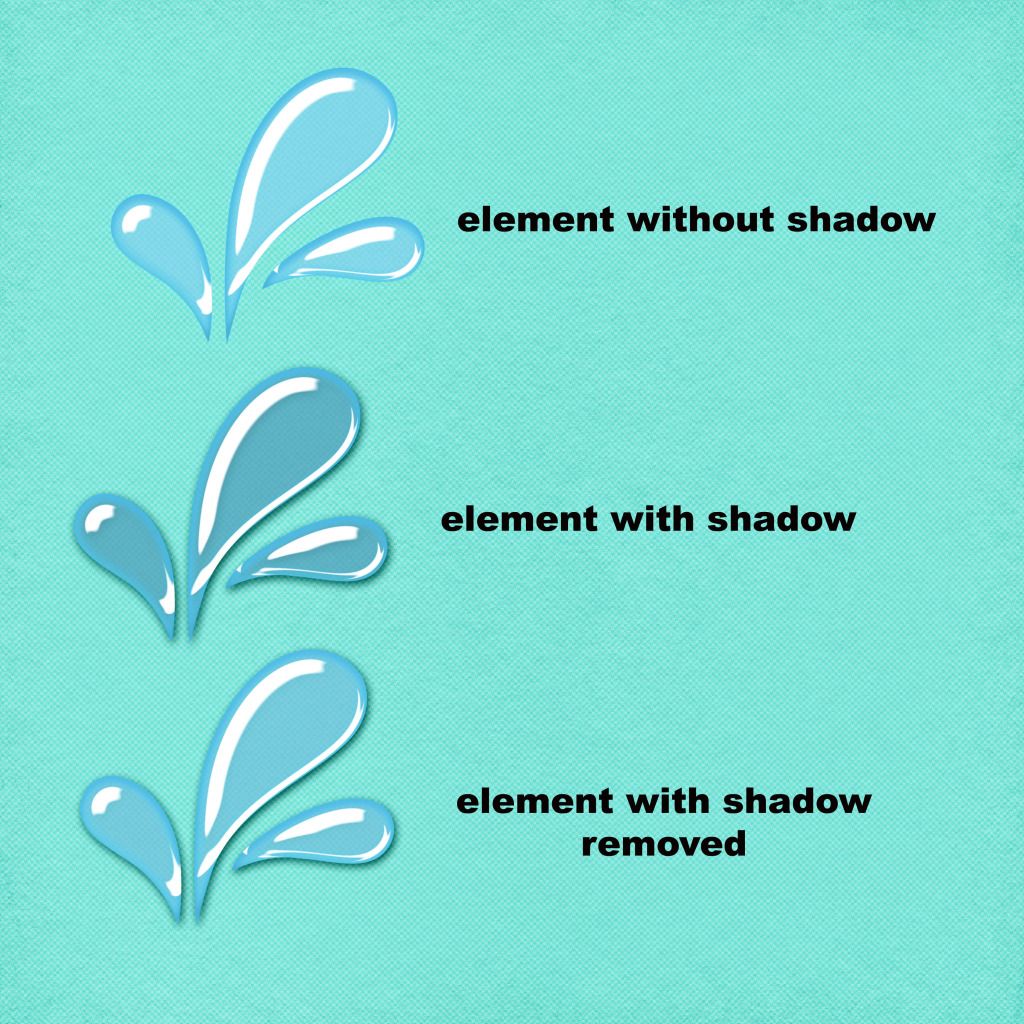
Here's a closer look at the element and its shadow:

Try it for yourself and master it. I hope you learned something today. Happy Scrapping!

No comments:
Post a Comment