
Hi there! I'm here for a tutorial today. I learned this tutorial a long time ago but I don't think that I'm practicing this or applying this of some freebies that I do. I was just reminded of this last week when I was browsing on a forum. Have you ever come across a freebie or one that you made, let's say a cluster, that you think the shadowing was too much for your taste? This tutorial can actually help you. Here are the step by step procedure:
1. Open the cluster/element/quickpage on photoshop. If you are making a freebie, you may want to click ctrl+a and ctrl+e so they will become one. For this tutorial I will be using my ps element. I put the cluster on a paper so you can see clearly the shadow.

2. Go to edit, stroke selection and change the width to 3px.
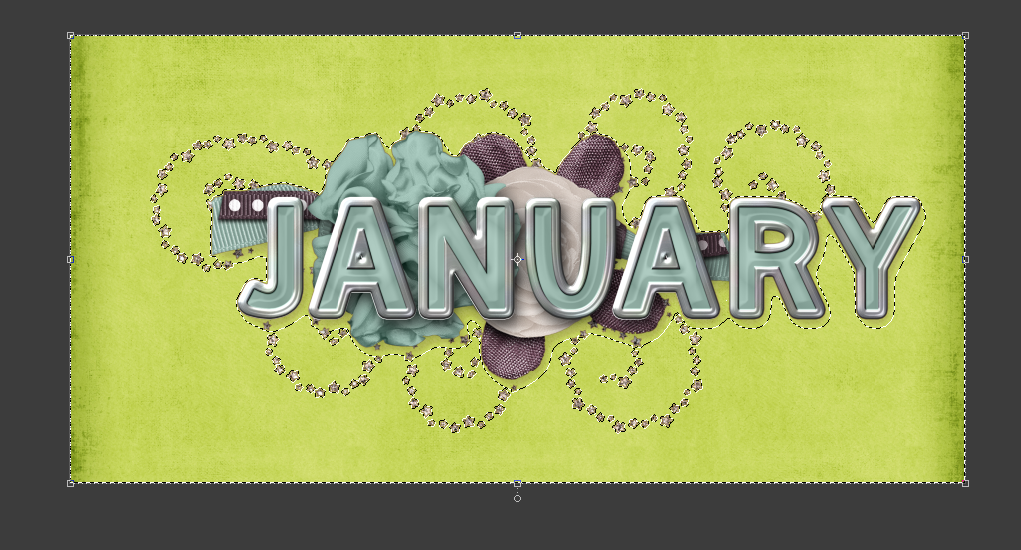
3. Click on the thumbnail. You should see the marching ants around the part where there were shadows.
4. Now click invert or shift+ctrl+i.

5. You can now hit the delete button to remove the shadow a little bit. You can hit the delete button up to 4 times or once you get contented with the removal of the shadow. See how I was able to remove the shadow on parts where it's visible? Now you can go and put the amount of shadow you want :)

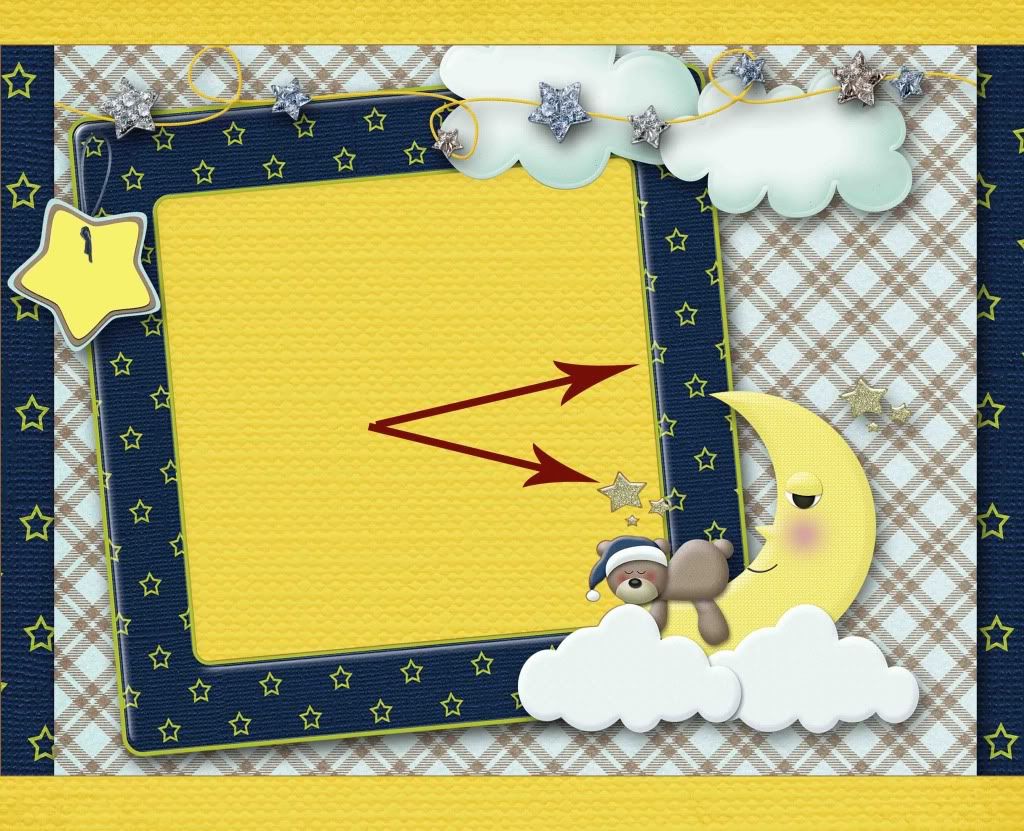
Here's an example on a bragbook. Hope you learned something today!

No comments:
Post a Comment